Getting started
Sign up or sign in to Receipt Organizer XT
Open scan.payxt.app. Create an account with email and password, or continue with Google. After you sign in, you land on the triage dashboard with Scan Receipt ready.
- Use Sign up for a new account; switch to Sign in if you already have one.
- You can start on the Free plan within documented limits.
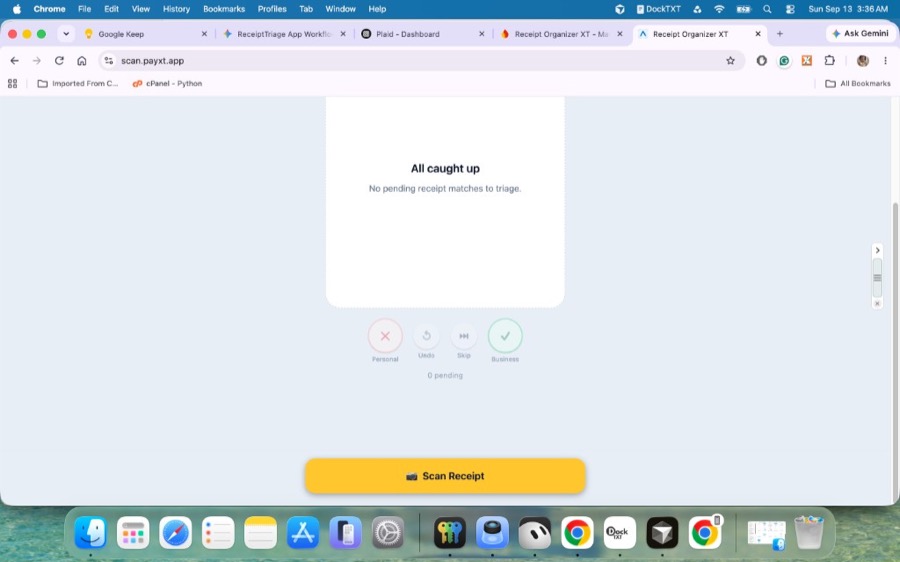
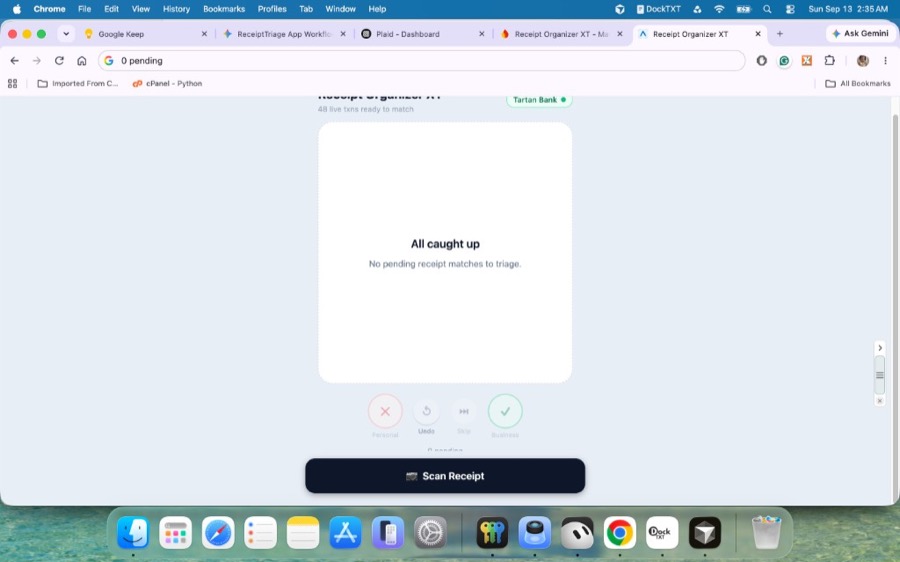
After sign-in: Scan Receipt is the primary action.
Bank link
Connect a bank account
Tap Connect bank (or your bank pill) in the header. Complete the secure bank link flow and allow transaction sync. Recent purchases appear in Bank Feed for triage. Manage multiple accounts from the bank pill sheet.
- A green status on the bank pill means the connection is active.
- If login expires, reconnect from the same control—you will not need a duplicate bank.
- Free includes 1 bank; Pro allows up to 5 connected banks (see Pricing).
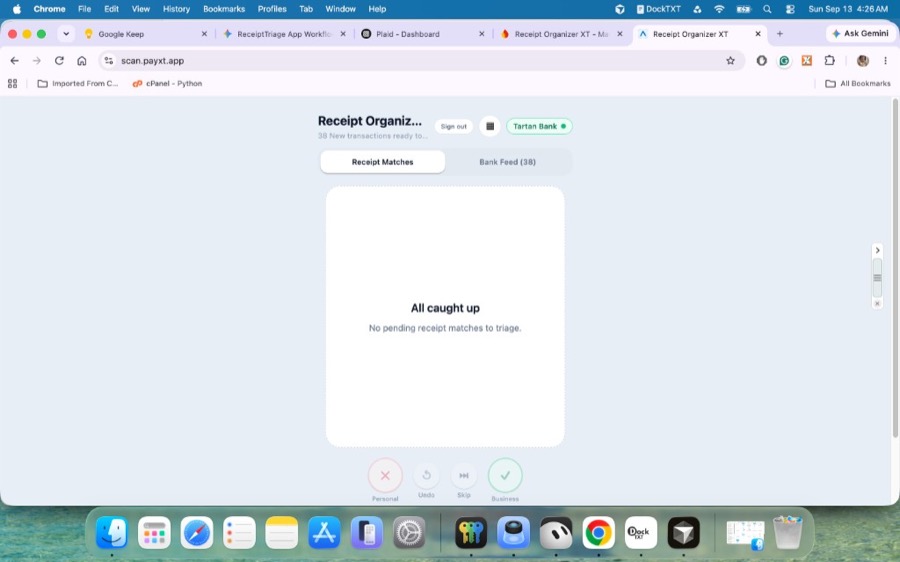
Connected bank pill in the header after a successful link.
Bank data is used to match and triage expenses in your account. See the Privacy Policy for details.
Statement import
Import PDF, CSV, OFX, or QFX bank statements
On Bank Feed, tap Import to load expenses without linking a bank—or to catch up from a downloaded statement. Choose CSV / OFX / QFX for structured files, or PDF for AI extraction of expense rows.
- Preview and confirm before rows enter the swipe deck (duplicates are skipped).
- CSV / OFX / QFX import is available on Free and Pro and does not count as a scan.
- PDF statement import counts toward Free monthly scan limits (1 PDF ≈ 1 scan).
Import pairs well with multi-bank Pro accounts when one institution is linked and another is imported from a statement file.
Camera / scanner
Scan a receipt with the camera or document scanner
Tap Scan Receipt. On native apps, the document scanner detects edges and crops a clean JPEG (falls back to the system camera on web). Photograph the paper flat and well lit, then choose Extract & queue. OCR builds a digital twin card (merchant, date, amount, line items, tax category) and looks for a matching bank transaction.
- Retake if glare or blur would hide the total or merchant.
- Strong matches appear in Receipt Matches as digital twin cards ready to confirm.
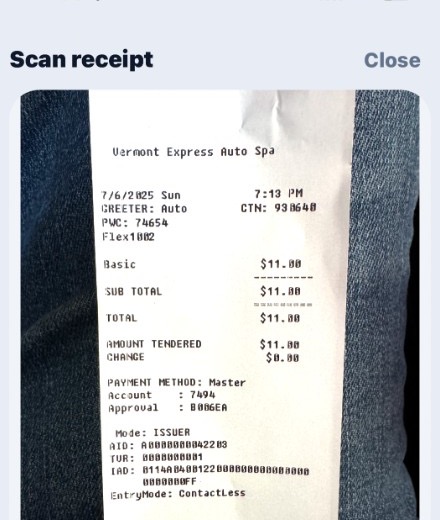
Camera capture preview
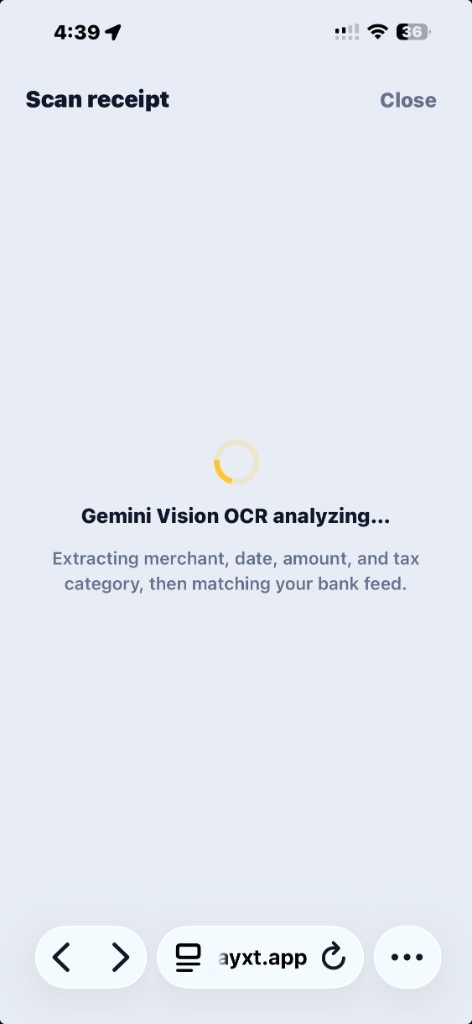
OCR + bank matching in progress
Batch upload
Batch upload from gallery (up to 10 receipts)
From the scanner, choose photos from your gallery instead of the camera. You can select up to 10 receipts at once. Each image is analyzed and queued for matching and triage—useful for catching up after a trip or expense week.
- Prefer clear, cropped receipt photos so OCR can read the total.
- Batch uploads still count toward monthly scan limits on Free.
Each gallery photo is extracted and matched like a live scan.
Receipt Matches
Triage Receipt Matches on digital twin cards
Open the Receipt Matches tab. Each scanned receipt appears as a uniform digital twin card—merchant, date, total, category, and optional line items—alongside bank match confidence. Tap the category pill, then swipe or tap:
- Business — keeps the expense for your ledger and Schedule C export.
- Personal — clears it from the business queue.
- Skip — leave it for later.
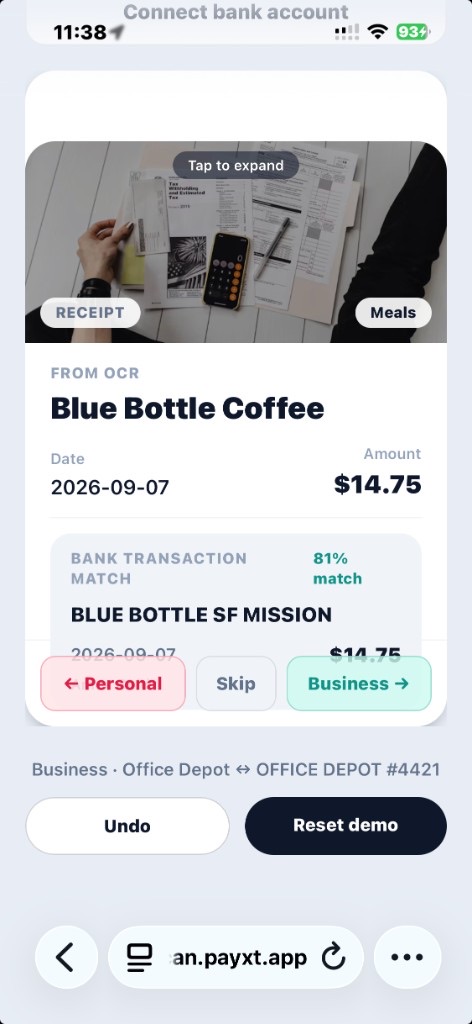
OCR side-by-side with bank transaction match before you swipe.
Bank Feed
Bank Feed triage, Apply Rules, and fullscreen review
Switch to Bank Feed for charges that do not need a paper receipt (subscriptions, travel, gas). Use Apply Rules to auto-categorize pending rows from your vendor keyword rules (Settings → Vendor rules). Then swipe Business or Personal and set the category on the card. On receipt cards, tap the image (Tap to expand) to review fullscreen before deciding.
- No receipt required for linked bank charges—categorize directly.
- Apply Rules re-runs enabled vendor rules over the pending deck.
- Fullscreen helps when the thumbnail is too small to verify the merchant.
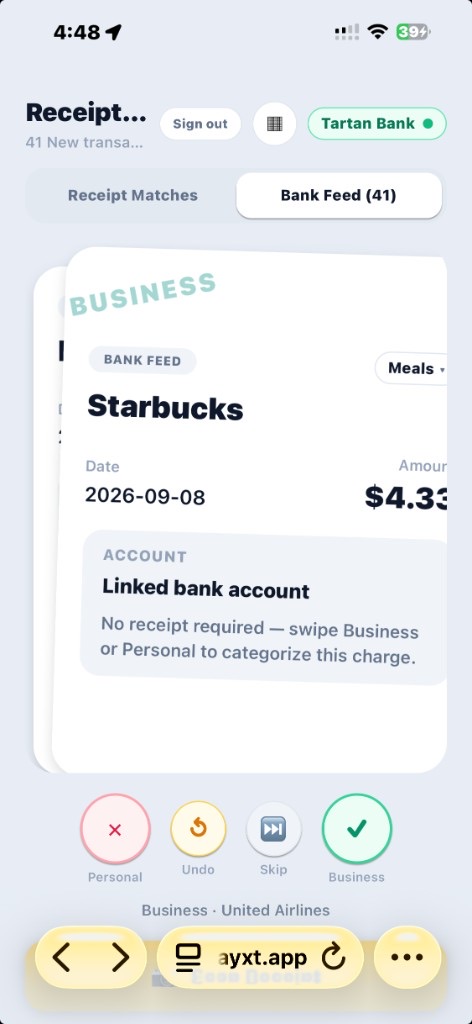
Bank Feed swipe toward Business
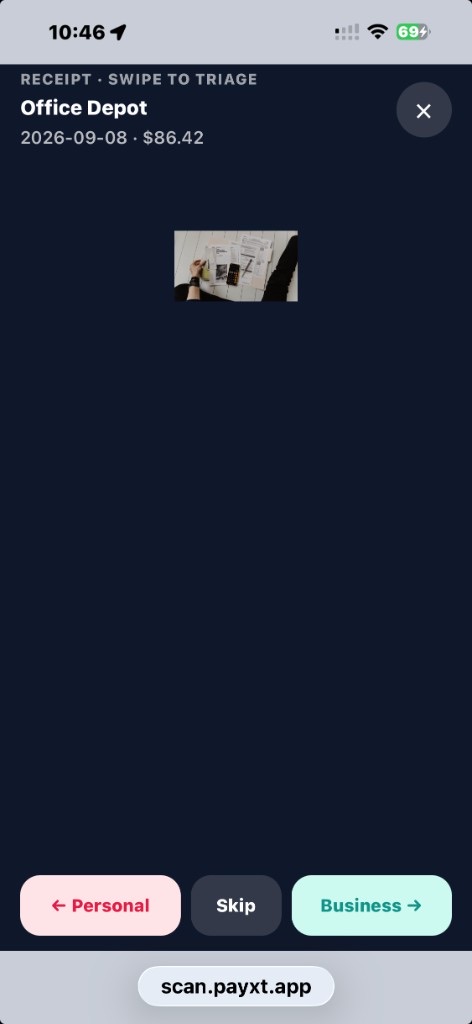
Fullscreen receipt review
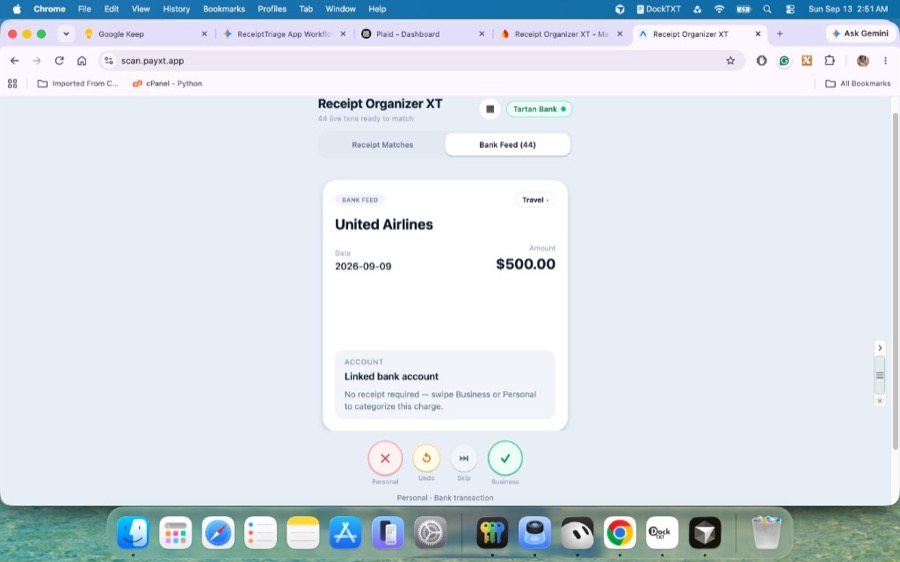
Example: categorize a bank-only travel charge without a scan.
Cash & unmatched
Unmatched, cash, and out-of-pocket receipts
Not every receipt hits the bank feed—cash, offline cards, or delayed posting. When a receipt has no bank match and you swipe Business, Receipt Organizer XT asks for a payment source:
- Cash / Out of Pocket — saves a manual business ledger entry so it still exports.
- Wait for bank sync — keep the receipt until the charge posts and can match.
Manual cash entries appear alongside bank-backed expenses in your Schedule C export. On Free, cash scans still count toward the monthly scan limit.
Mistakes
Undo the last triage action
Tap Undo (circular arrow between Personal and Skip) to reverse the last Business, Personal, or cash ledger action. The card returns to your queue so you can categorize again.
Undo sits with Personal, Skip, and Business under every triage card.
Ledger & export
Editable ledger, visual reports, and Schedule C CSV
Open Export / Ledger from the app menu (☰). Review and edit Business-tagged expenses (merchant, category splits, bank account), explore Cylinders and Radial Blossom category charts, then export a Schedule C–oriented CSV for your records or accountant.
- Export after you have triaged the period you care about.
- Visual reports help spot category mix before you download the CSV.
- Available on both Free and Pro.
New to Schedule C? It is the IRS Profit or Loss From Business form (Form 1040) for sole props and single-member LLCs. Receipt Organizer XT exports a ledger for prep—it does not file taxes. What is IRS Schedule C?
Use Export / Ledger in the ☰ menu to open the business ledger and export.